PART TWO: PLANNING THE BUILD
The 2054cc combination was selected to deliver usable torque and dependable street manners, exactly what a Split Bus requires. Displacement is achieved using a 74mm stroke combined with 94mm pistons and cylinders. The foundation starts with a new Autolinea aluminum case, chosen for its improved rigidity and shuffle-pinned bearing saddles.
Internally, an AA Performance Products 4140 forged eight-dowel counterweighted crankshaft provides the strength and balance needed for sustained cruising. Matching AA 94mm Performance pistons and cylinders, along with AA Performance 4.5-inch connecting rods, establish a rotating assembly optimized for torque rather than high RPM horsepower.
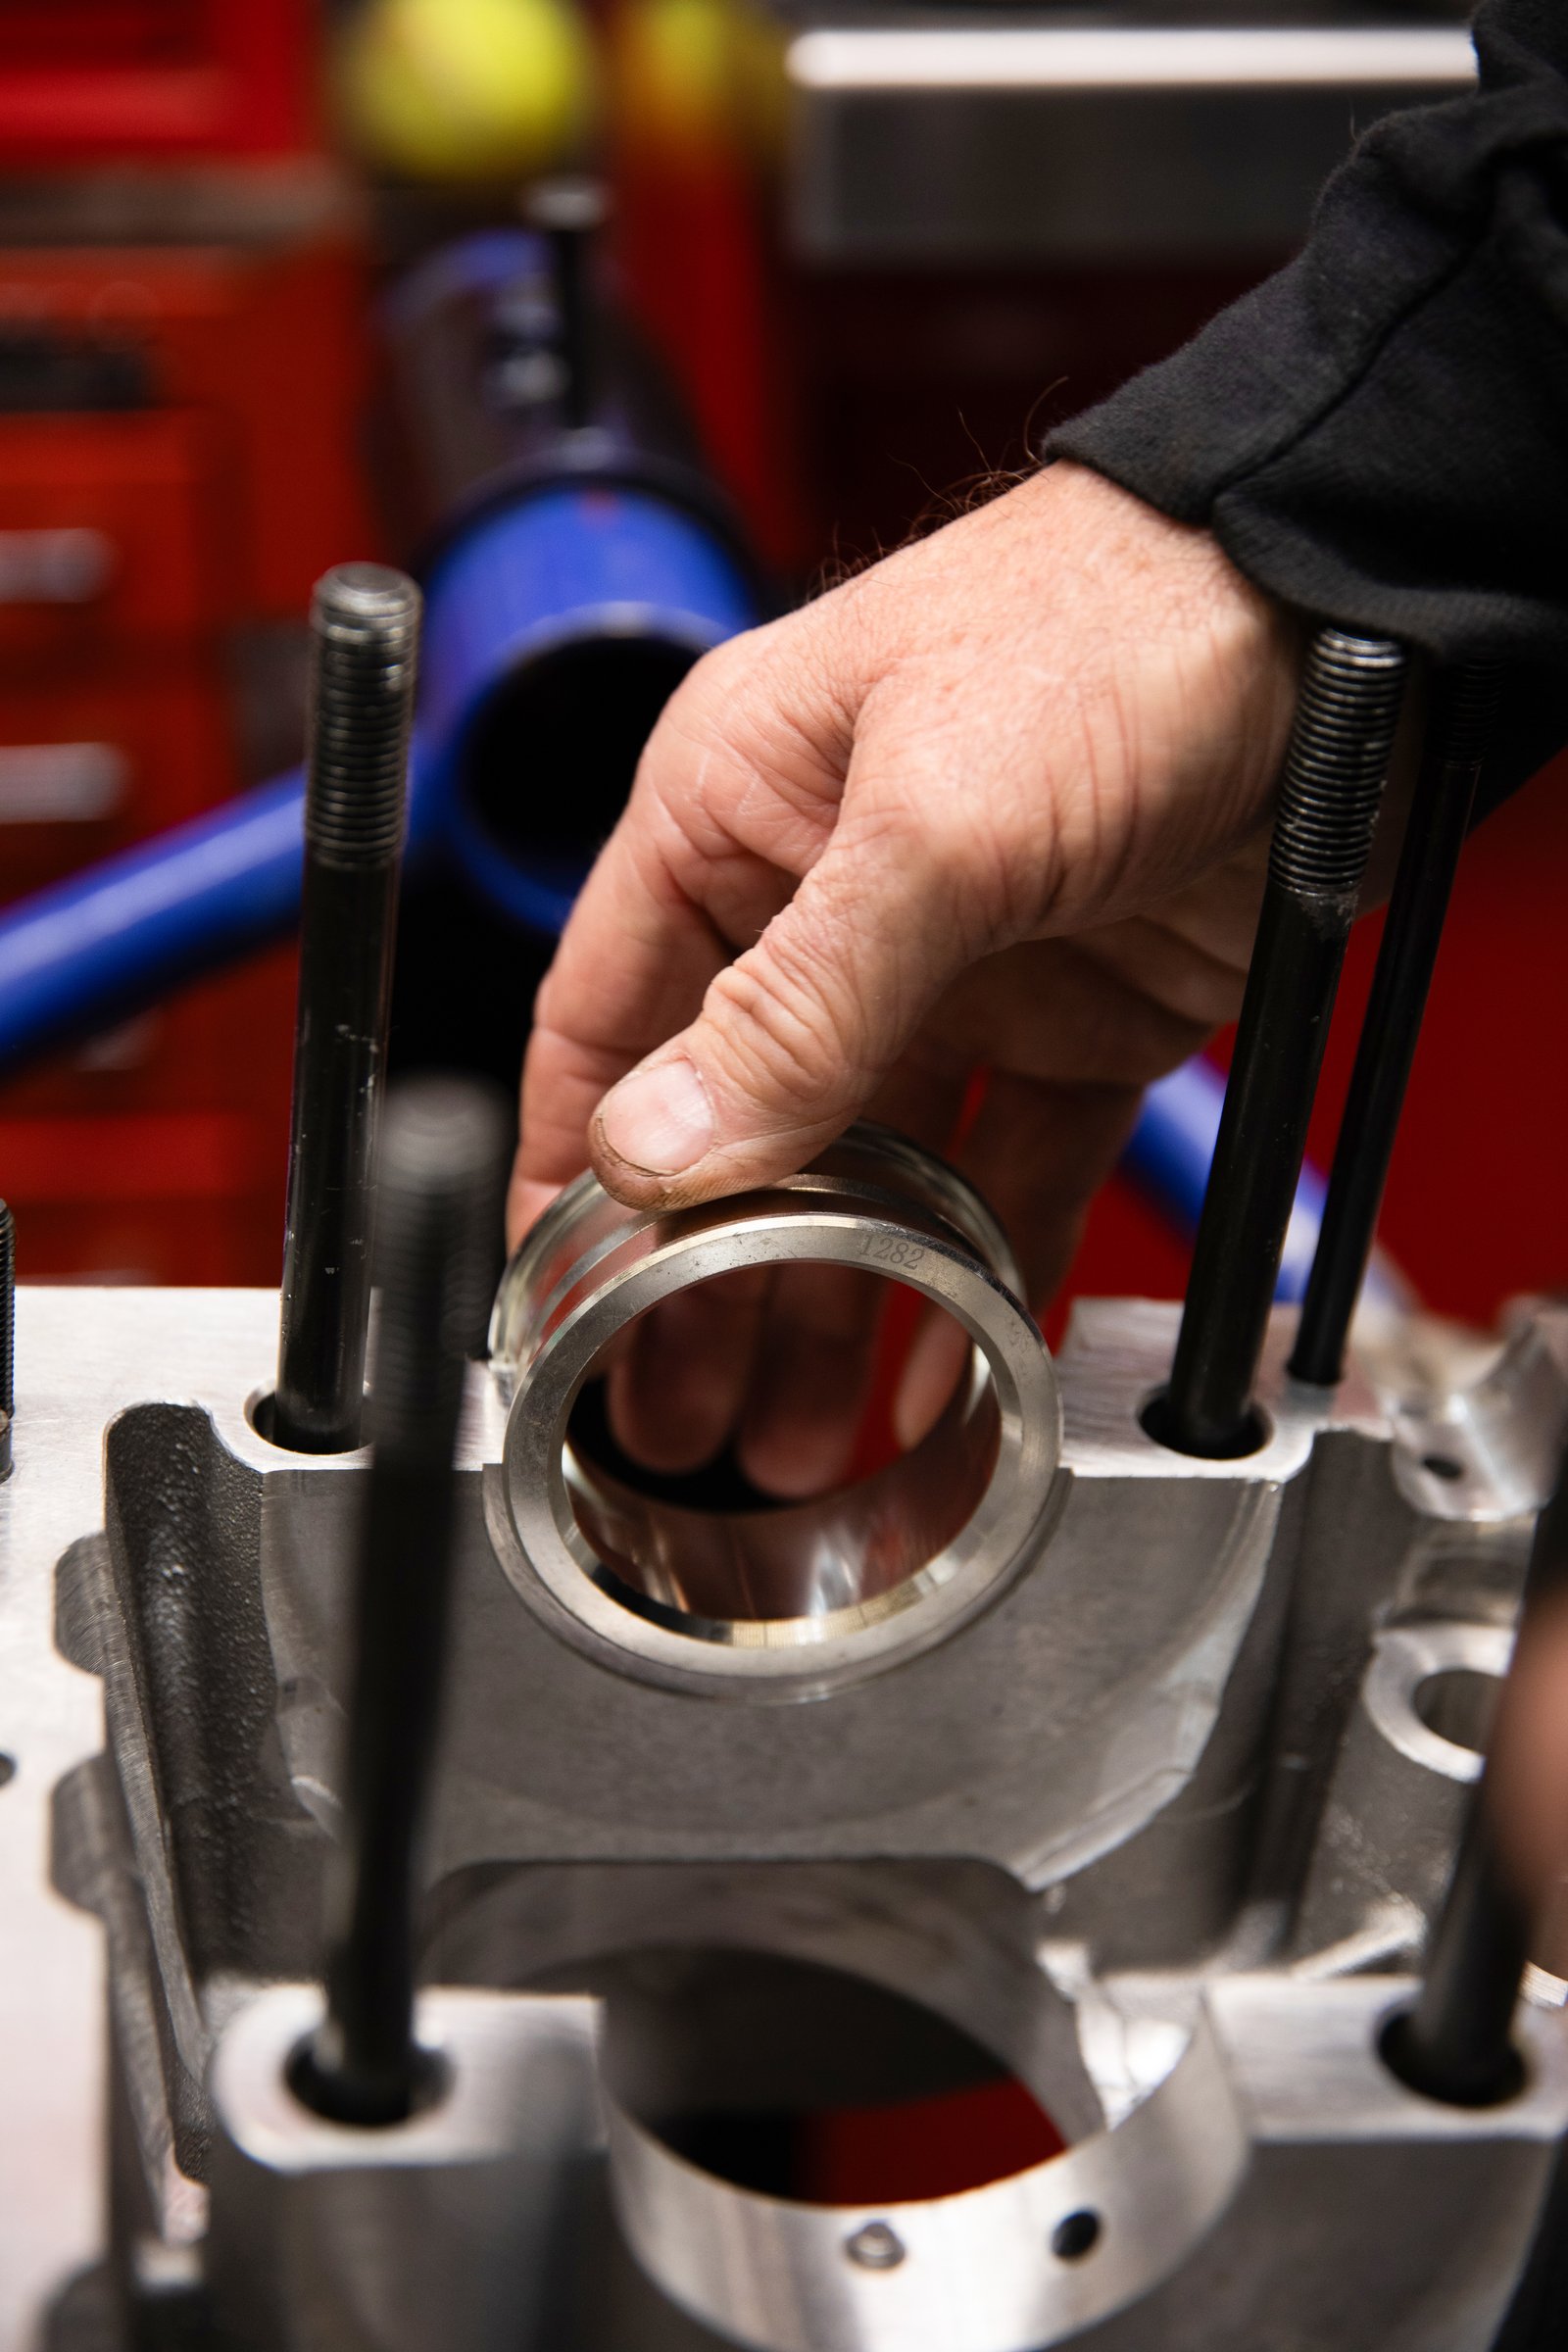
Each component was selected with the build in mind, ensuring compatibility from mockup through final assembly — see detailed list. Before any assembly begins, the Autolinea case undergoes a complete inspection and preparation process. All bearing saddles, lifter bores, and threaded holes are carefully inspected. Main bearing saddles are checked for proper finish, and the Mahle bearings are test-fitted and measured to confirm correct crush and oil hole alignment.
Mockup, Measuring, and Verification
With the case clean and inspected, the rotating assembly is installed for mockup. The AA Performance crankshaft is fitted with Mahle bearings and temporarily assembled to verify smooth rotation and proper endplay. Connecting rods are checked for clearance at the camshaft and case webs, an essential step when working with a stroker crank.
The EMPI GT 2 camshaft and Engle followers are installed next to confirm cam-to-rod clearance and lifter engagement. All measurements are recorded before final assembly begins, ensuring nothing is left to chance once sealant is applied.
Sealants, Torque, and Assembly Practices
Final assembly relies on proven materials and careful preparation. Gasgacinch sealant is applied sparingly to the case halves, providing a reliable seal without excess squeeze-out. Elring Dirco sealant is used on the cam plug. All torque values follow factory specifications unless otherwise noted, with fasteners tightened in proper sequence using a calibrated torque wrench.
Next month, follow along as the long block comes together and the HotVWs engine starts to take shape. We'll show how all the planning and experience turn into real progress on our '62 Bus, so be sure to catch Part Three.
Engine Case & Rotating Assembly Components
Autolinea aluminum Super Case
AA Performance Products 4140 chromoly counterweighted crankshaft
AA Performance Products piston and cylinder set
4.5-inch I-beam connecting rods
Mahle main bearings
Mahle rod bearings
Mahle cam bearings
Crank gear and cam gear
Complete 10.5-grade engine fastener kit
Camshaft & Valvetrain
EMPI GT-2 camshaft
Engle cam followers
Oil System & Sealing
Valvoline VR1 20W50 oil
STP high-zinc oil treatment (added to oil on initial fill)
Torco assembly lubricant
Stalube White lithium grease
Schadek 26mm full-flow pump with remote filter
EMPI 1.5-qt oil sump
Elring complete gasket set
Gasgacinch sealant (case halves)
Elring Dirco sealant (cam plug)
SECTION 1: STORY SETUP
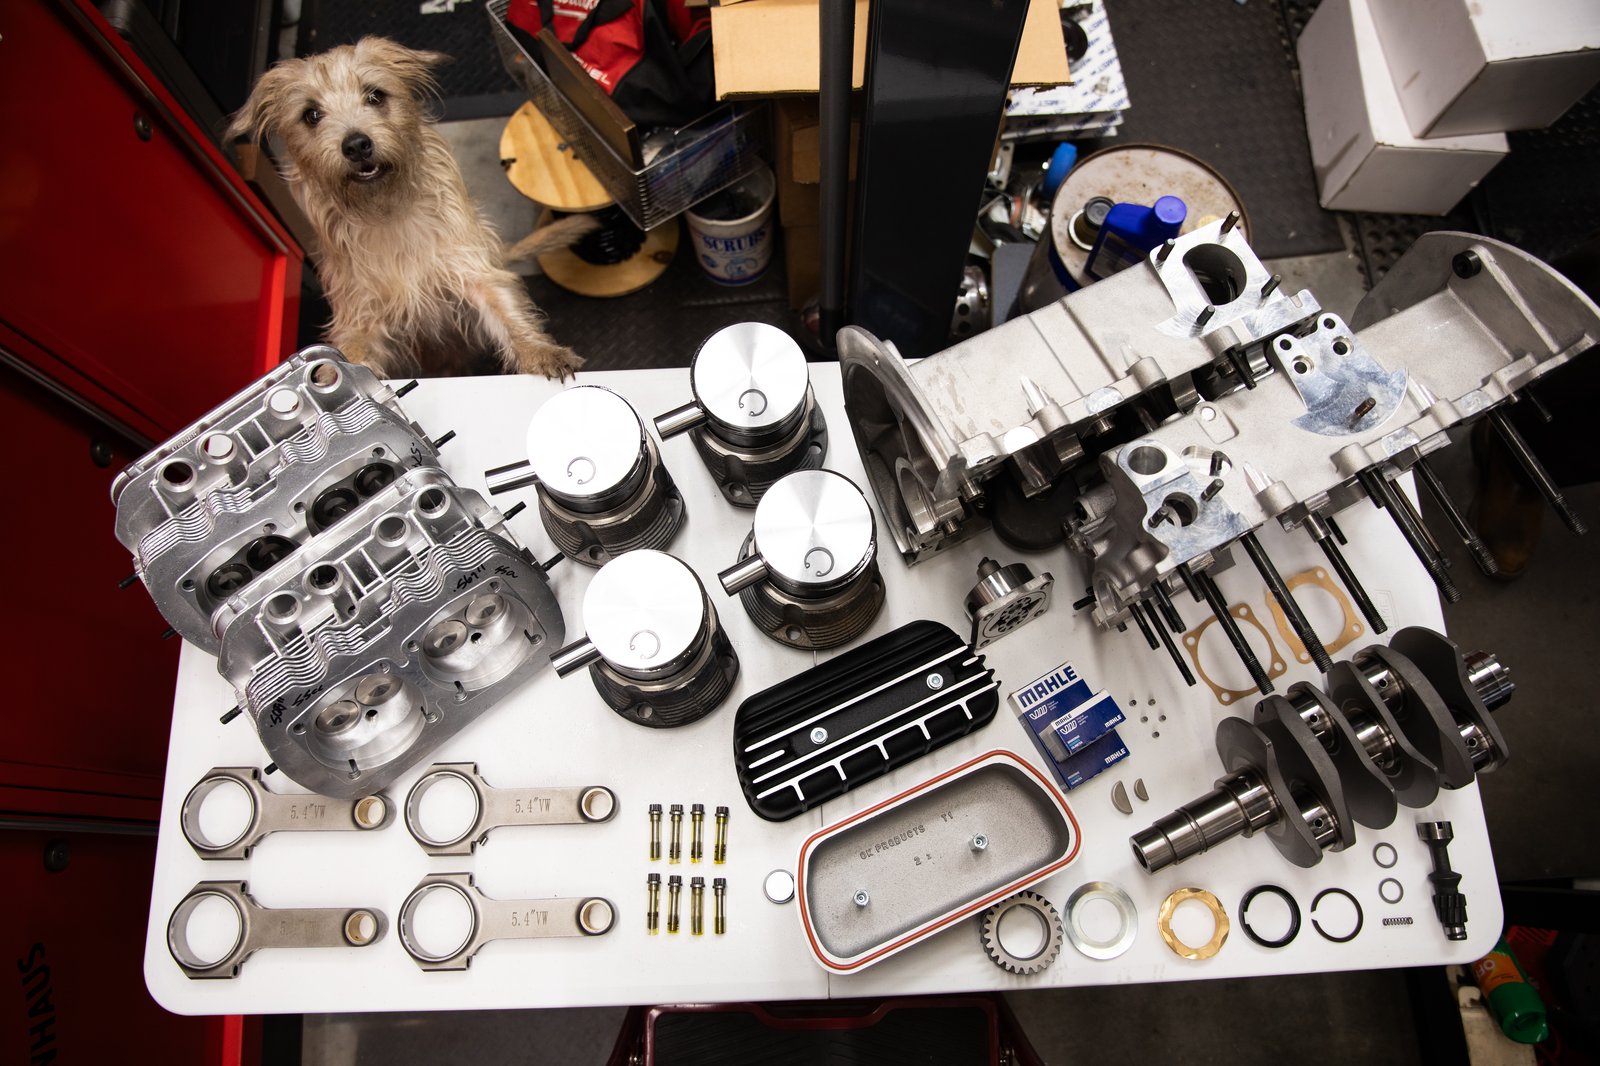
Photo 1 -
Major components laid out prior to assembly, including the Autolinea aluminum engine case and AA Performance Products rotating assembly.
SECTION 2: DETERMINING BUILD SPECIFICATIONS
Photo 2 -
A new Autolinea aluminum engine case provides rigidity and durability for sustained Bus duty.
Photo 3 -
An AA Performance Products forged 4140 eight-dowel crankshaft supplies strength for highway cruising.
Photo 4 -
Displacement comes from a 74mm stroke paired with 94mm pistons and cylinders for a proven 2054cc combination.
SECTION 3: MATCHED PARTS SELECTION
Photo 5 -
AA Performance 4.5-inch connecting rods were selected to emphasize torque and reliability.
Photo 6 -
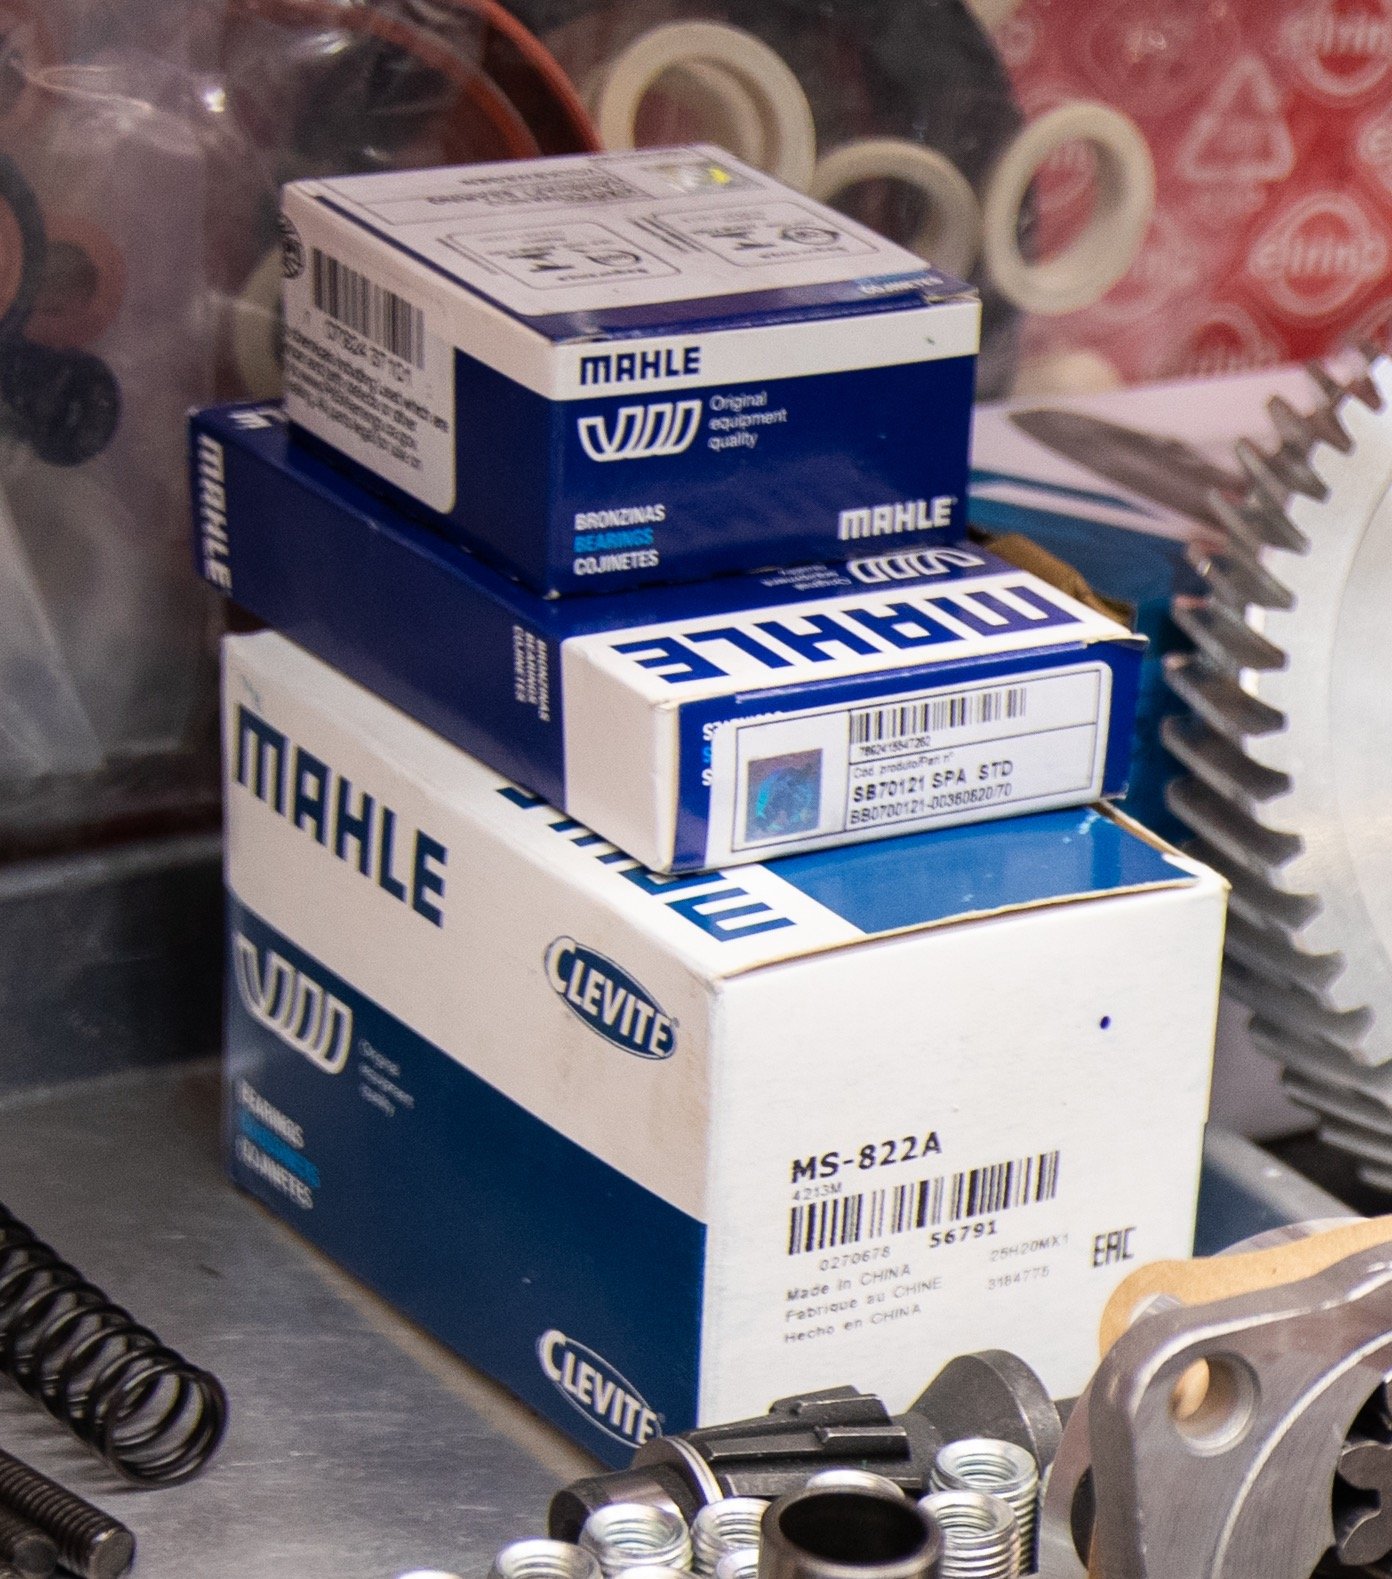
Mahle bearings are used throughout the engine for consistent quality and fit.
SECTION 4: OIL SYSTEM & SEALING COMPONENTS
Photo 7 -
Full-flow oiling and increased capacity help control oil temperatures in heavy Bus applications.
Photo 8 -
Proven lubricants and sealants are staged before final assembly begins.
SECTION 5: PREPARING THE ENGINE CASE
Photo 9 -
Bearing saddles are carefully inspected before any assembly work begins.
SECTION 6: MOCK-UP, MEASURING, AND VERIFICATION
Photo 10 -
Mahle main bearings are test-fitted to verify proper crush and oil hole alignment.
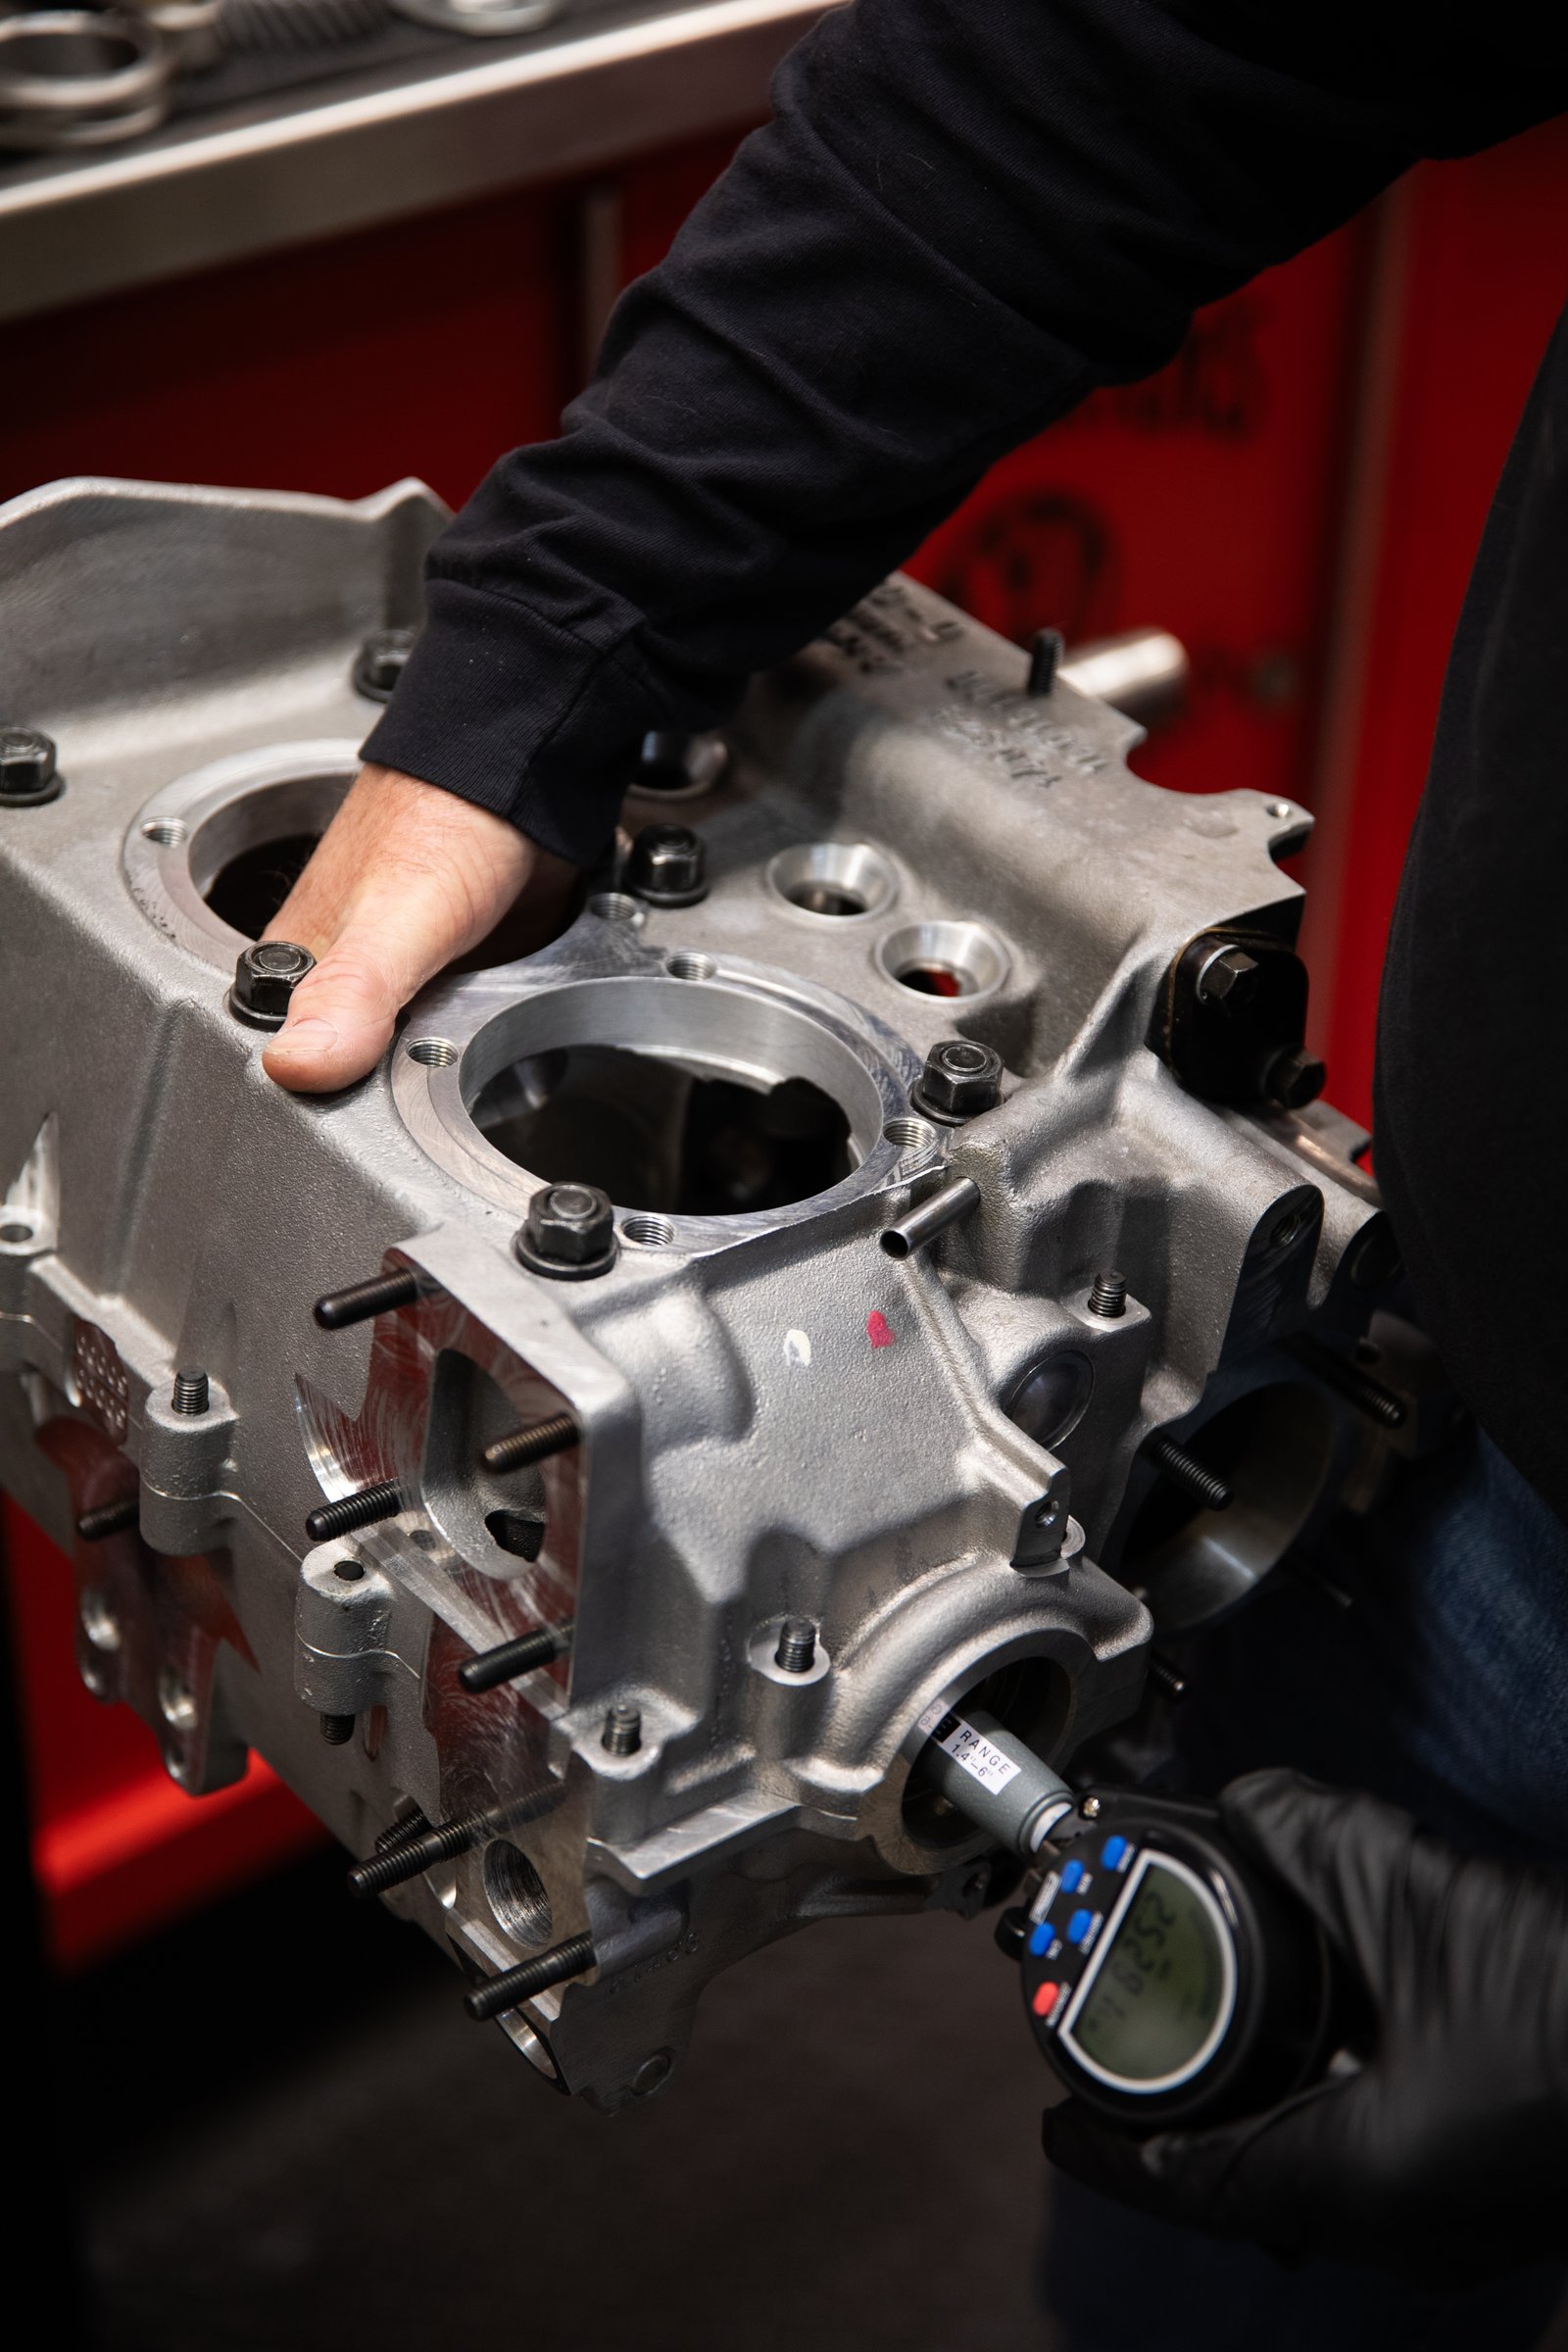
Photo 11 -
All critical dimensions are measured and recorded before final assembly.
SECTION 7: FINAL PREP FOR ASSEMBLY
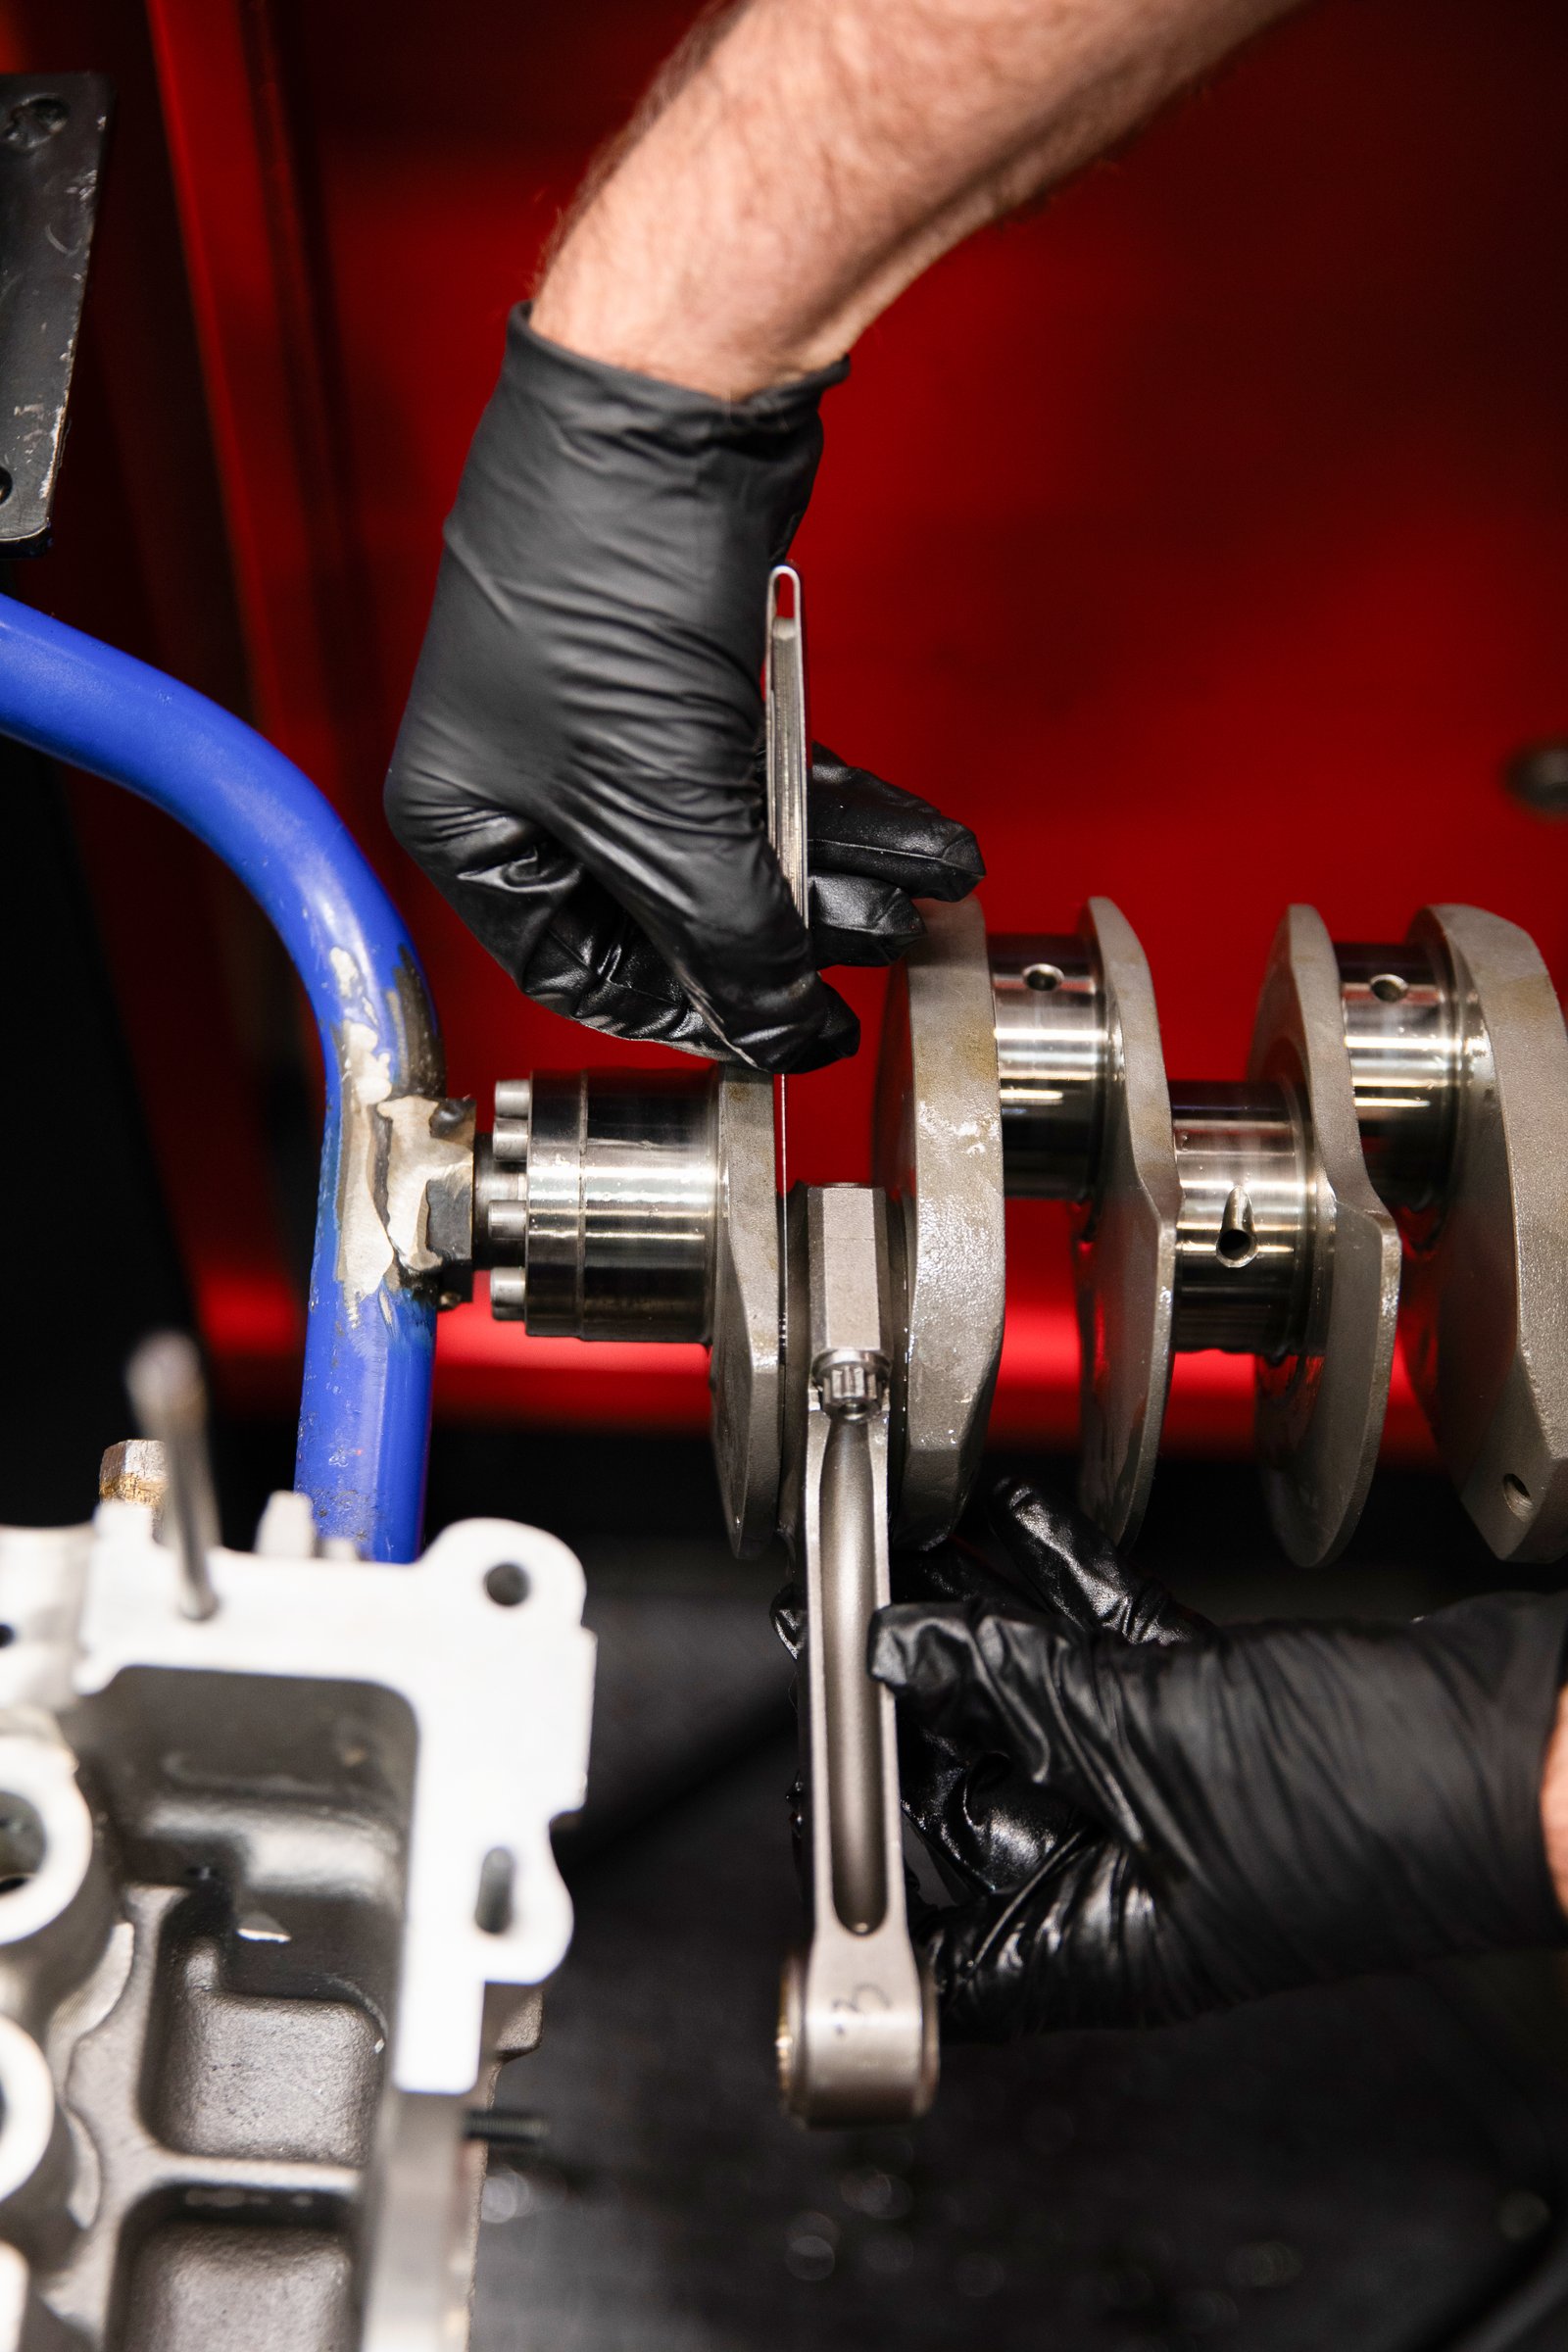
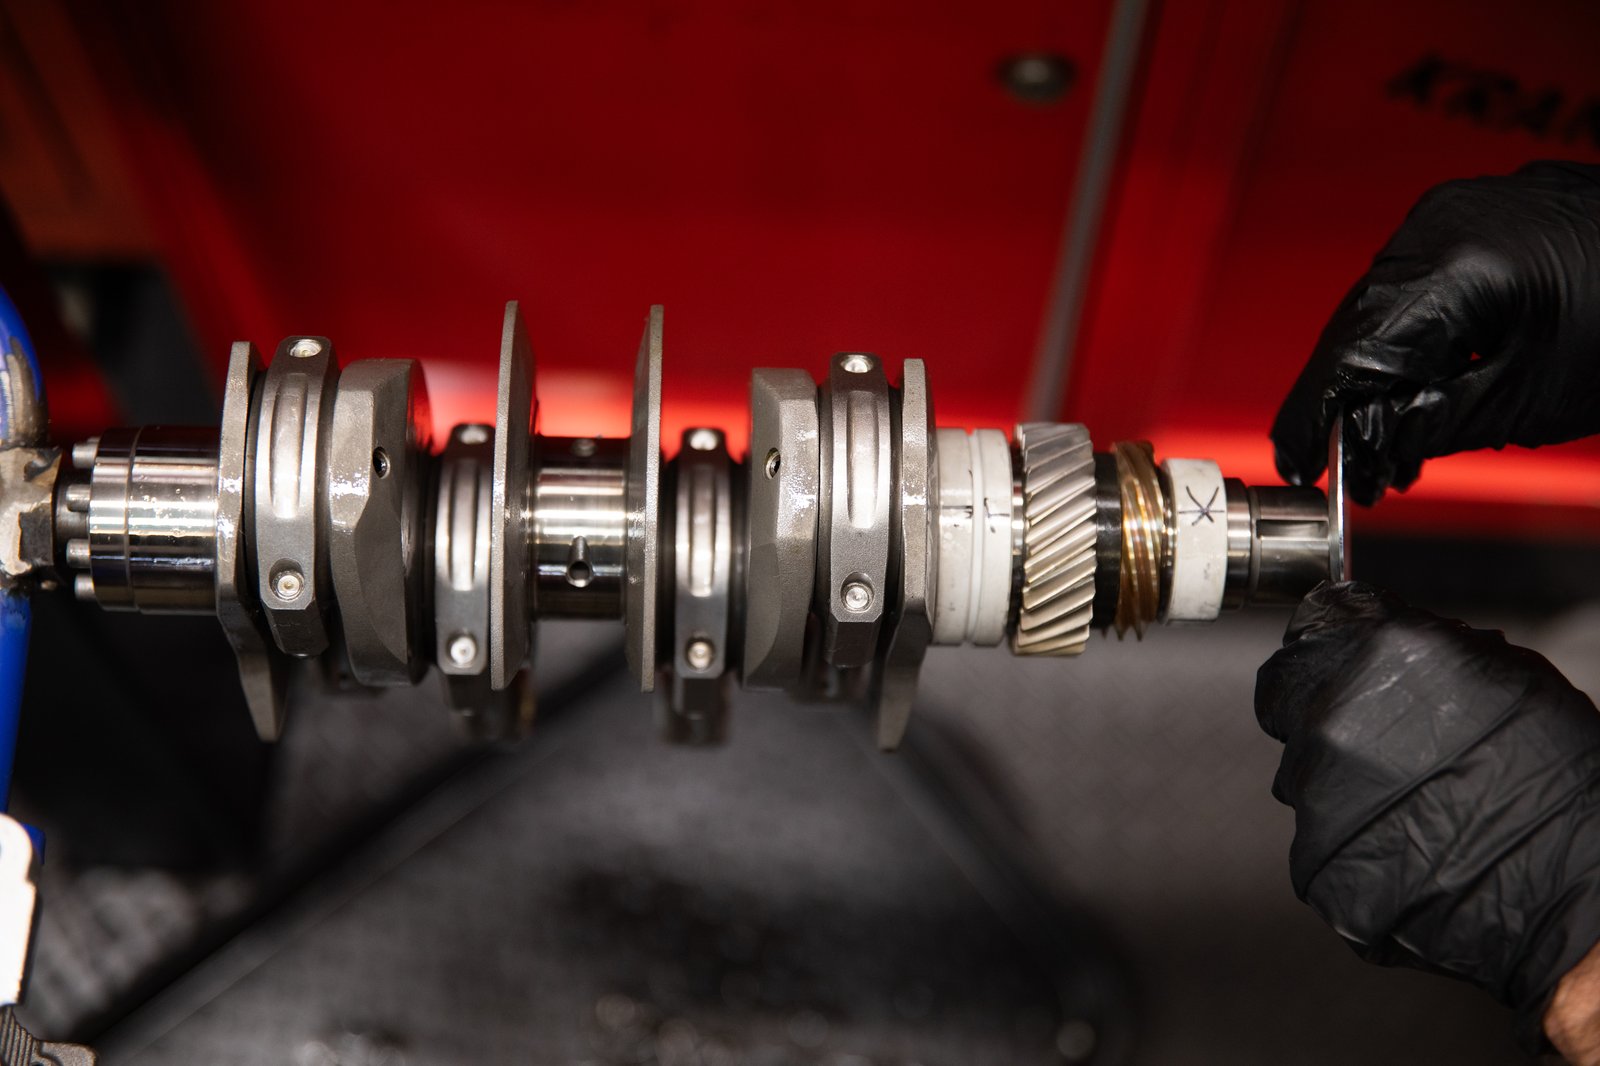
Photo 12 -
Rod to crankshaft assembly. Rods installed on crankshaft.
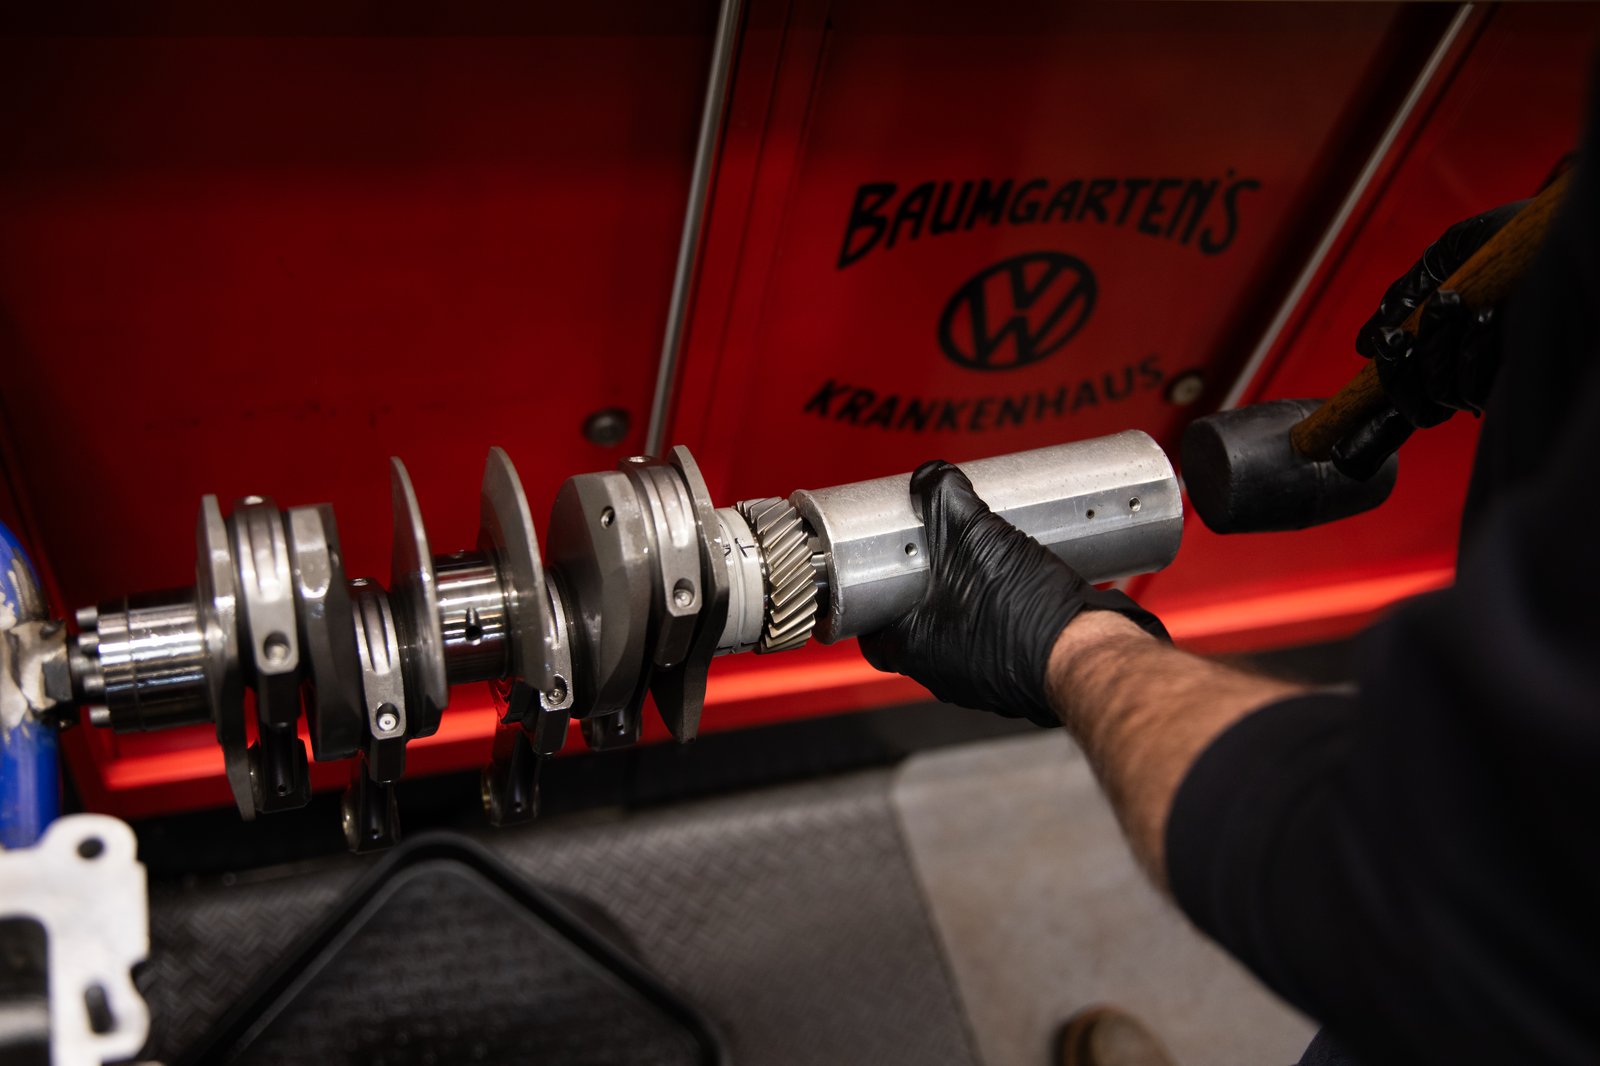
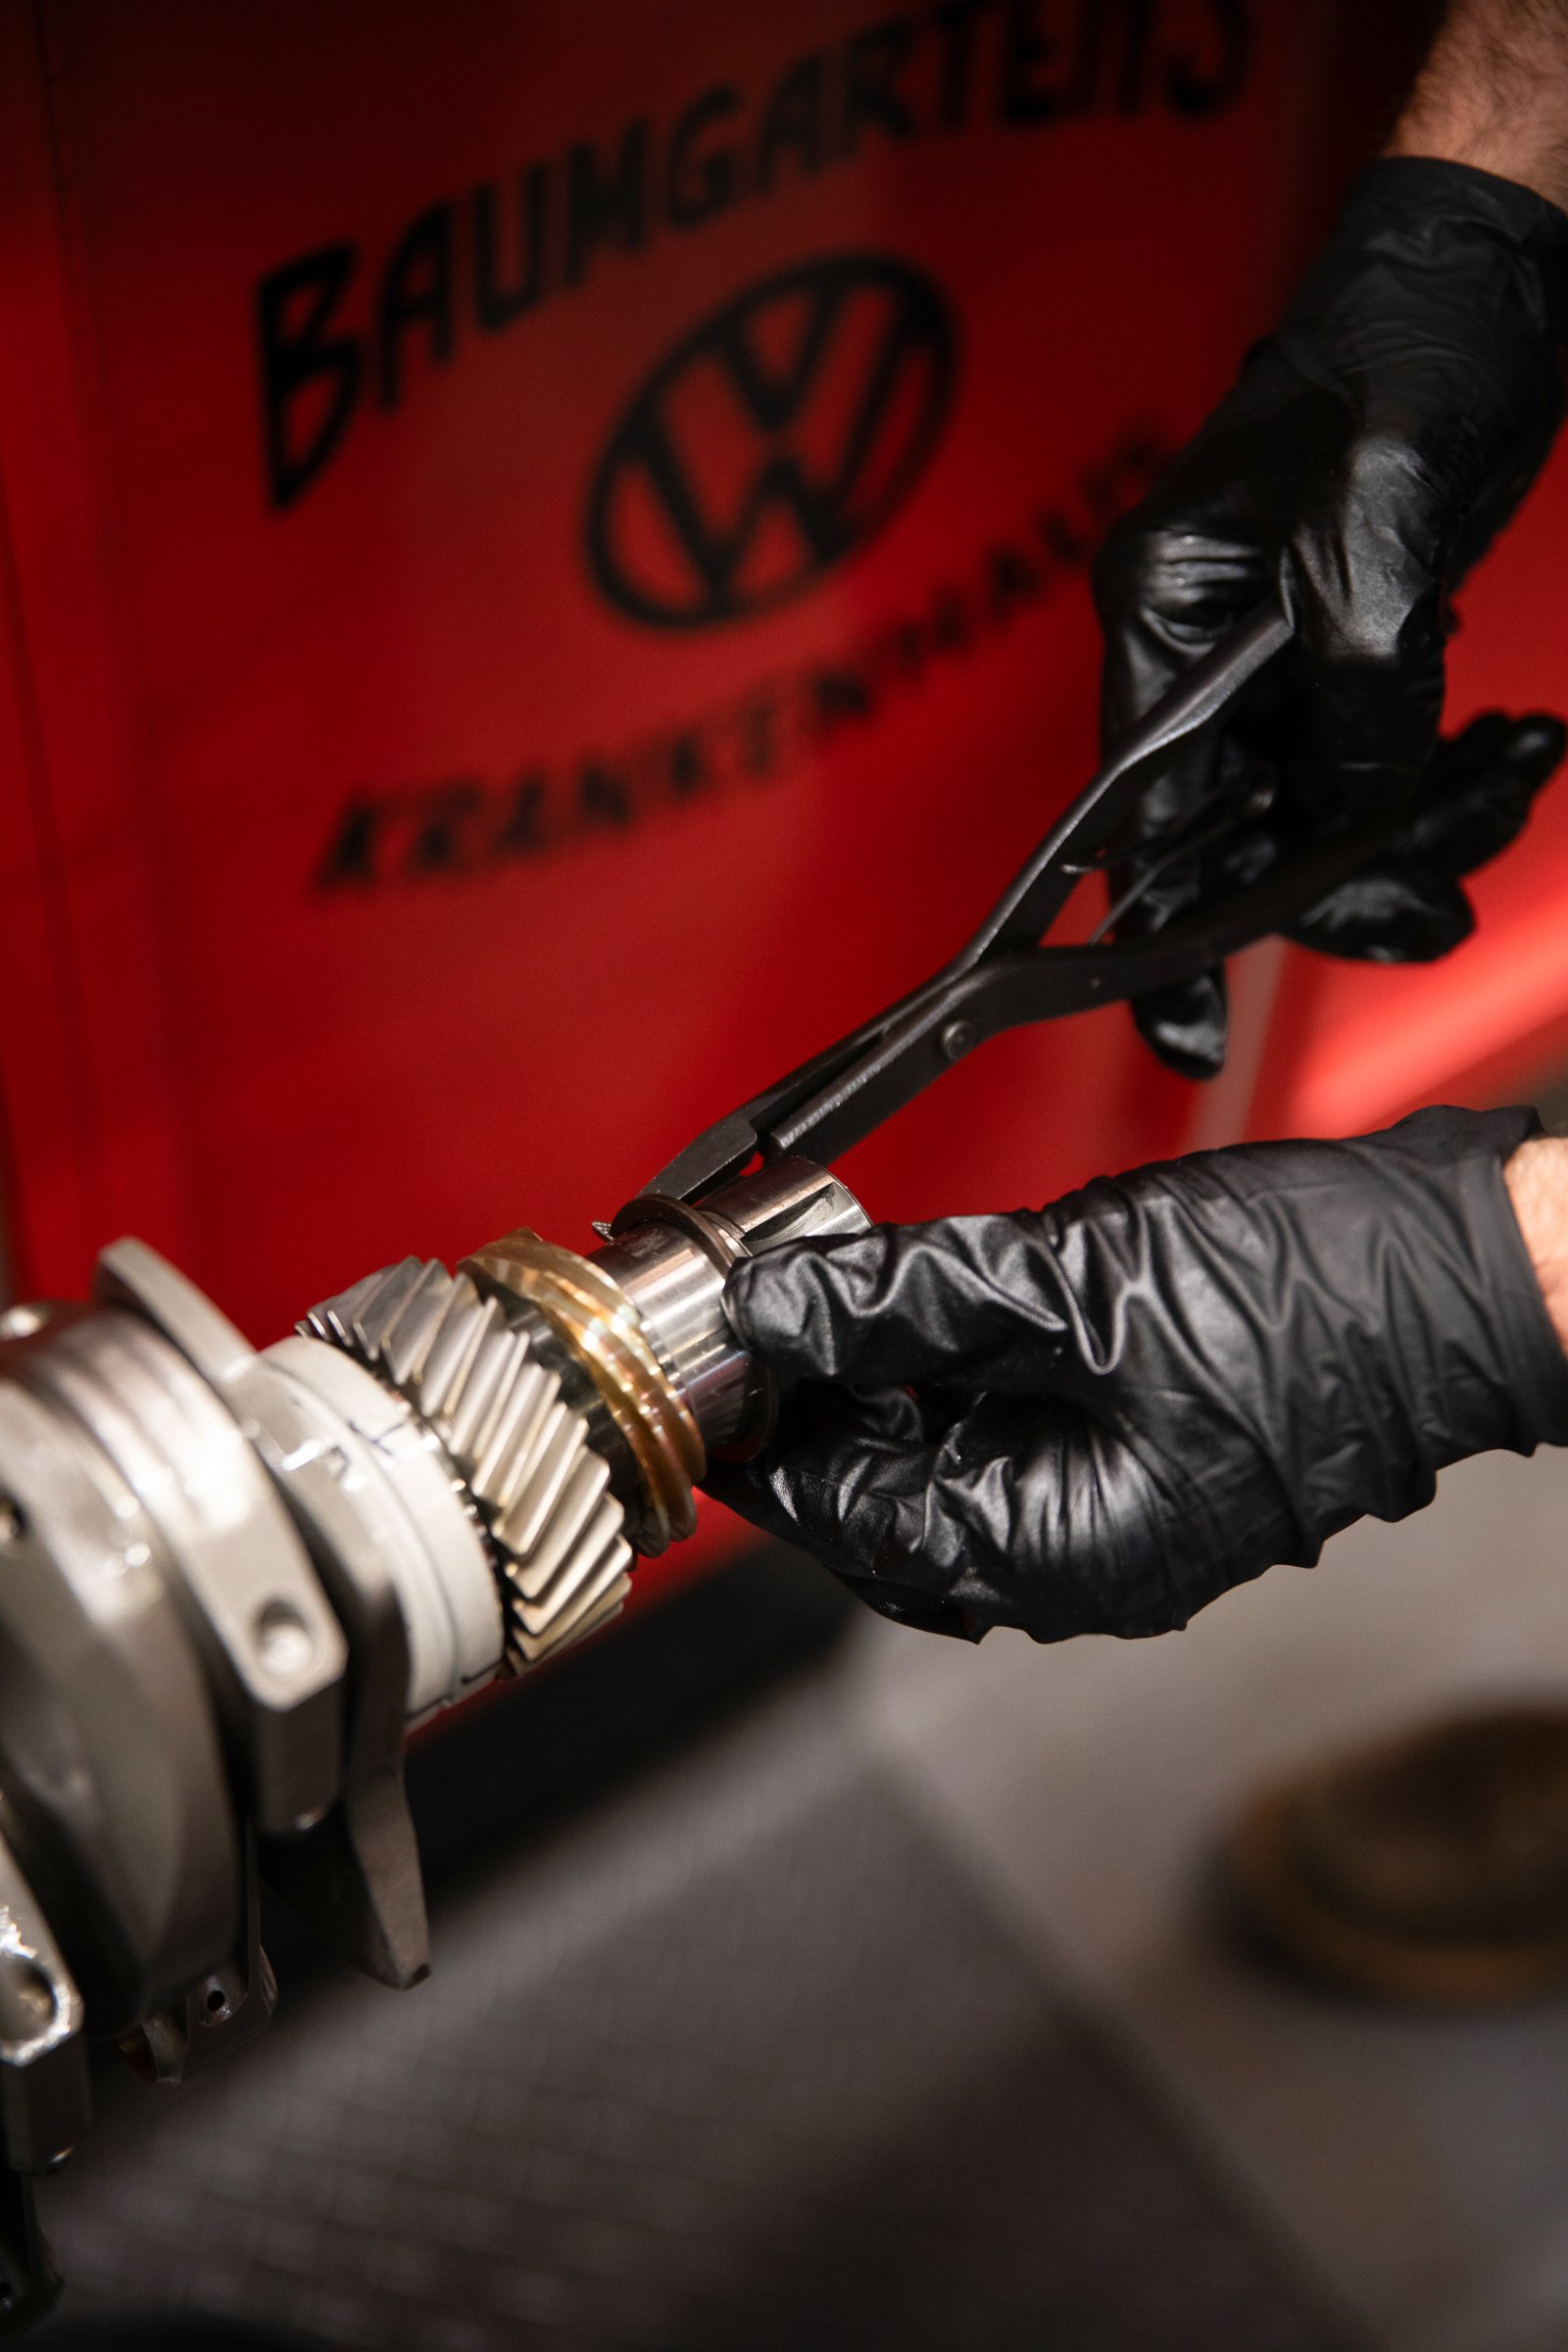
Photo 13 -
Gear key/crankshaft gear installation.
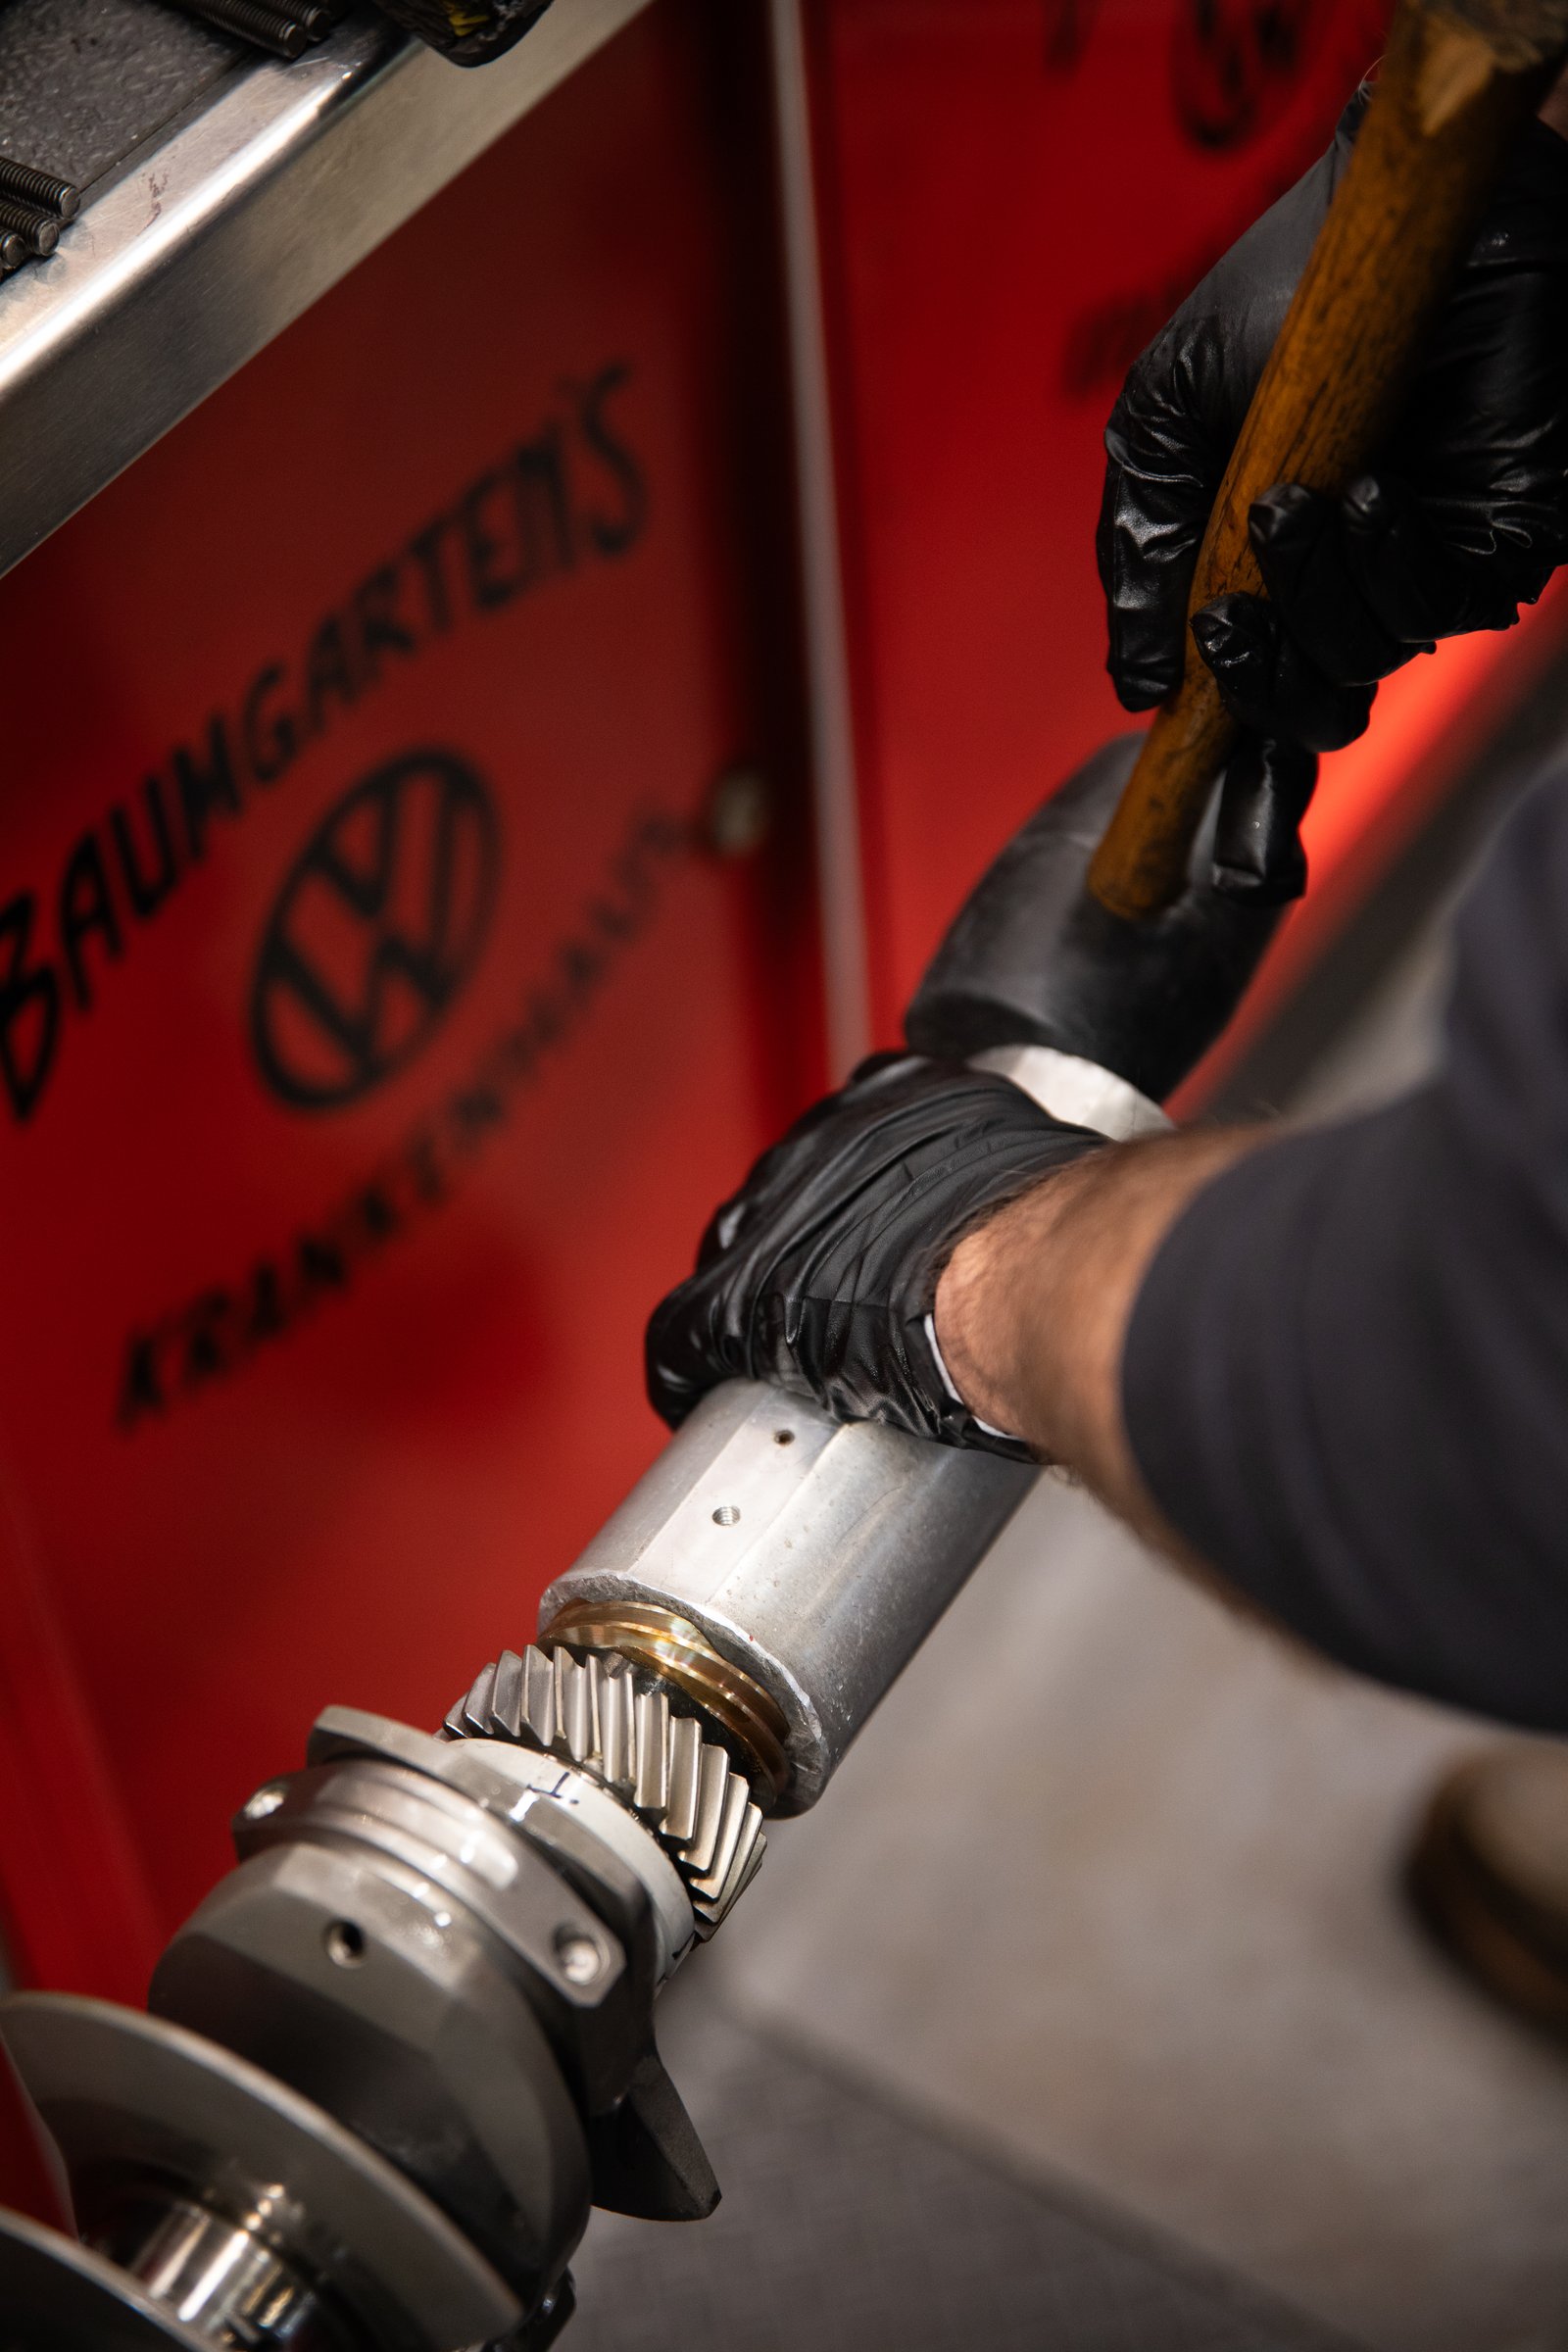
Photo 14 -
Gear spacer installed.
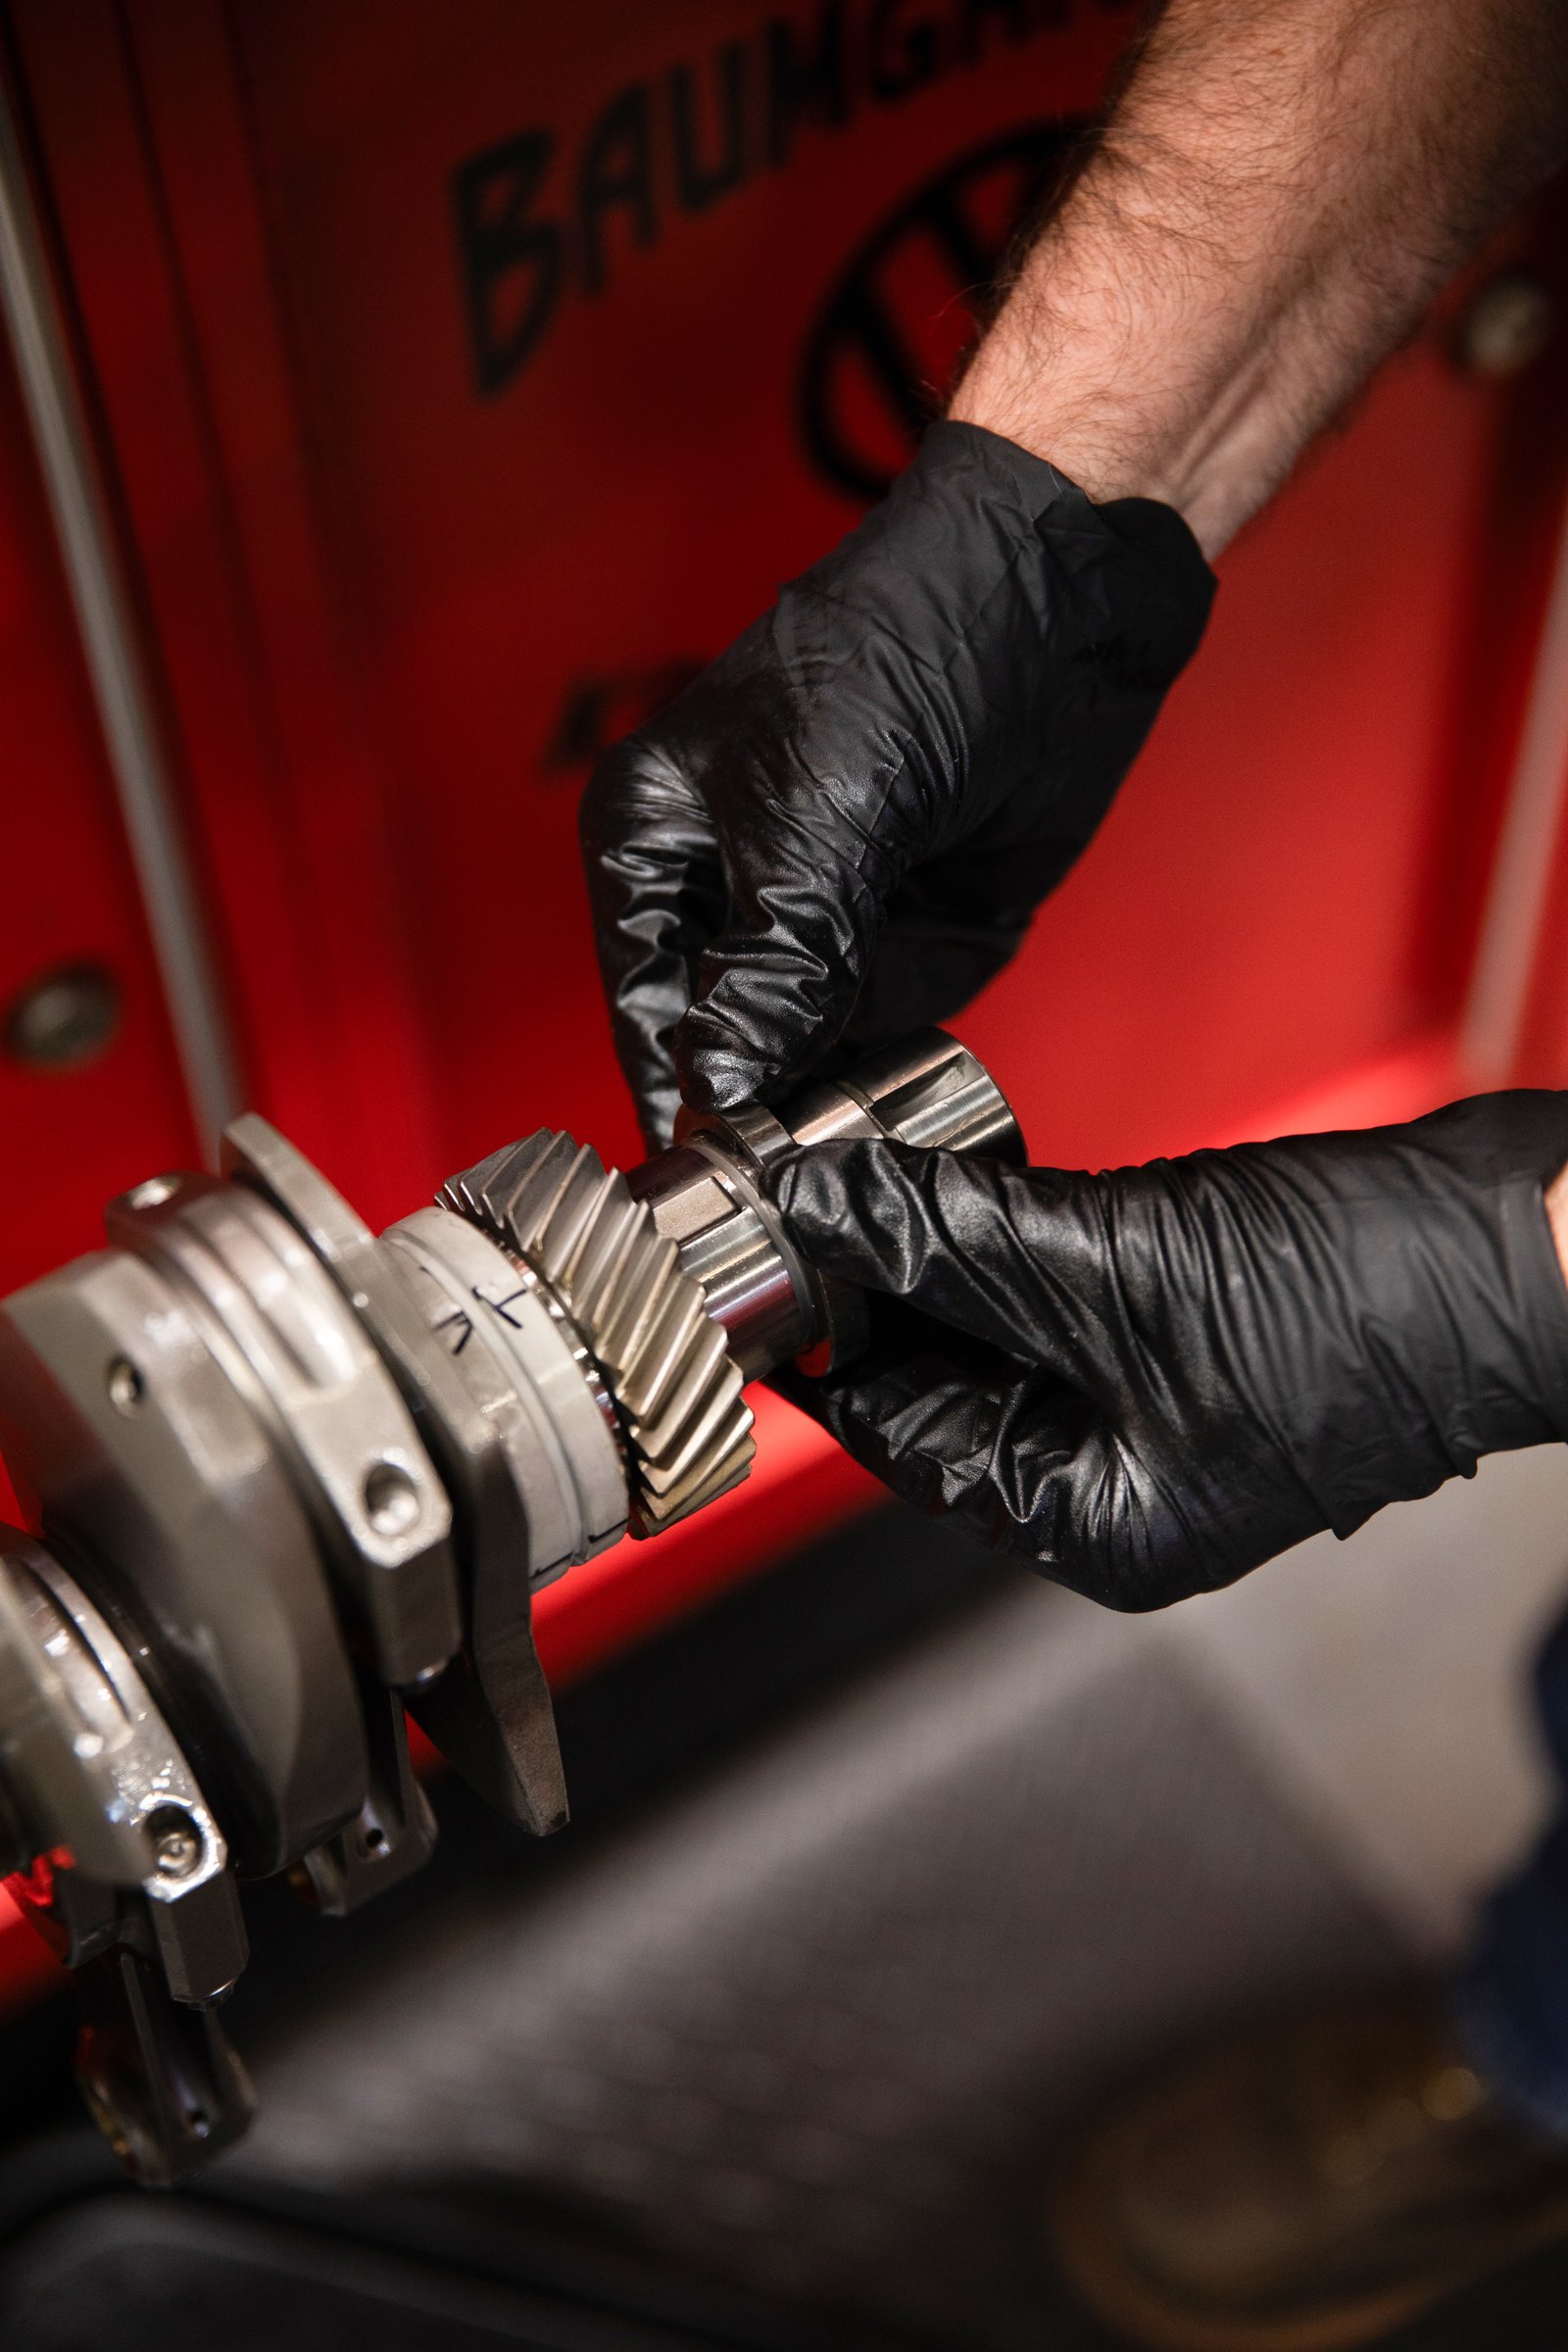
Photo 15 -
Distributor drive gear installed.
Photo 16 -
Crankshaft snap ring installed.
Photo 17 -
Oil slinger and pulley woodruff key installed.
Photo 18 -
Cam gear installed on camshaft and gear bolts Loctite applied and torqued to 18 ft-lbs.
Photo 19 -
The crankshaft is installed during mock-up to verify smooth rotation and endplay.
Photo 20 -
Connecting rod clearance is verified when using a stroker crankshaft.
Photo 21 -
The EMPI GT-2 camshaft and Engle lifters are installed to check cam-to-rod clearance.
Photo 22 -
Cam to crank gear backlash measurement.
Photo 23 -
Oil pump to cam gear clearance.
Photo 24 -
Gasgacinch is applied sparingly to case halves, with Elring Dirco used on the cam plug.
Photo 25 -
All fasteners are torqued in sequence using calibrated tools and factory specifications.
SECTION 8: TRANSITION / CLOSING
Photo 26 -
With the foundation complete, the engine is ready to move into final assembly.
[Total Images: 26]
Photo Gallery